Photoshop - Beyond Camera RAW
Photoshop Elements vs Photoshop full version
RAW files are like negatives. They must be processed to be useful, but you get all the sensor data to play with.
JPEG files are like printed photos. Decisions have been made by the camera or phone.
Resources
Photoshop GPT - Ask it a specific question about Photoshop and get a good answer. It made some of the graphics and text on this page. Check the answers in Photoshop to see if they work (it sometimes makes things up or forgets thins).
Photoshop Training Channel - Video Tutorials. As with all video tutorials beware of videos that are old. Photoshop has changed a lot lately and they may have old information that may not match what you see onscreen. Or there may be a much easier way to accomplish things now.
Beyond the Rule of Thirds - An old lecture on photographic composition, really good! The speaker is great, and composition doesn’t change.
Lazy Nezumi Pro - A Photoshop plug in for those of us with shaky hands. It works better than the one built into Photoshop. It can be used on top of Photoshop’s feature for this.
If you seriously want to learn more about Photoshop - The Photoshop Virtual Summits are great! They are free when they are running and a day or two after. You need a “VIP” pass to watch them at you leisure (it took me months to go through them all). It is about $100 to become a VIP for one summit, it is 5 days of video sessions and notes, each day is 8 sessions. Get on the mailing list because there are usually early bird discounts. They are held once a year, the next one is November 3 - 7.
Too many tutorials try to have you memorize keystrokes. Learn concepts, not keystrokes.
Keystrokes you should remember
Undo - pressing this repeatedly with take you further back a step each time
PC: Ctrl + Z
Mac: Cmd + Z
Holding down the Space Bar will turn whatever tool you are using into the Hand Tool allowing you to drag the entire picture or the section of it you are viewing around the screen. It will go back to the tool you were using when you release the Space bar.
If you are using a mouse, go into Preferences in the General section put a check in the box labeled Zoom with Scroll Wheel. Now you can zoom ion and out using the Scroll Wheel of you mouse.
Ignore any tools or options you don’t understand or ask Photoshop GPT about them.
Colors
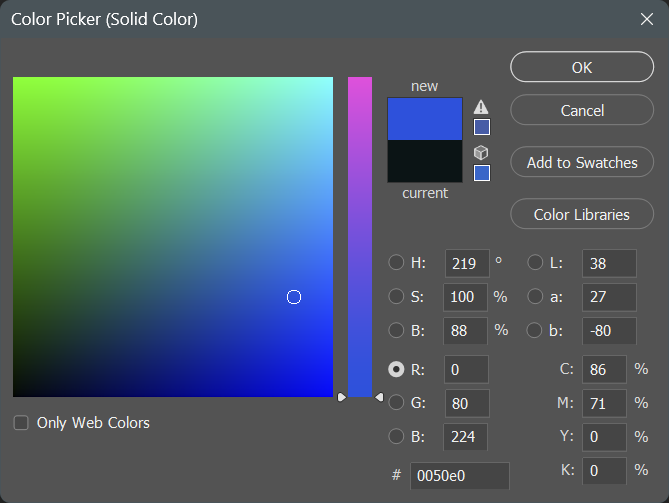
We use the RGB color space. Monitors are RGB devices.
Each pixel ranges from 0 to 255 in all three colors
0 = none of that color.
255 = the maximum amount of that color.
The more different RGB values are from each other the more saturated the color is.
The closer RGB are to being the same the less saturated the color is.
Printers use CMYK - Cyan Magenta Yellow and Black The printer driver does the conversion for you.
Layers
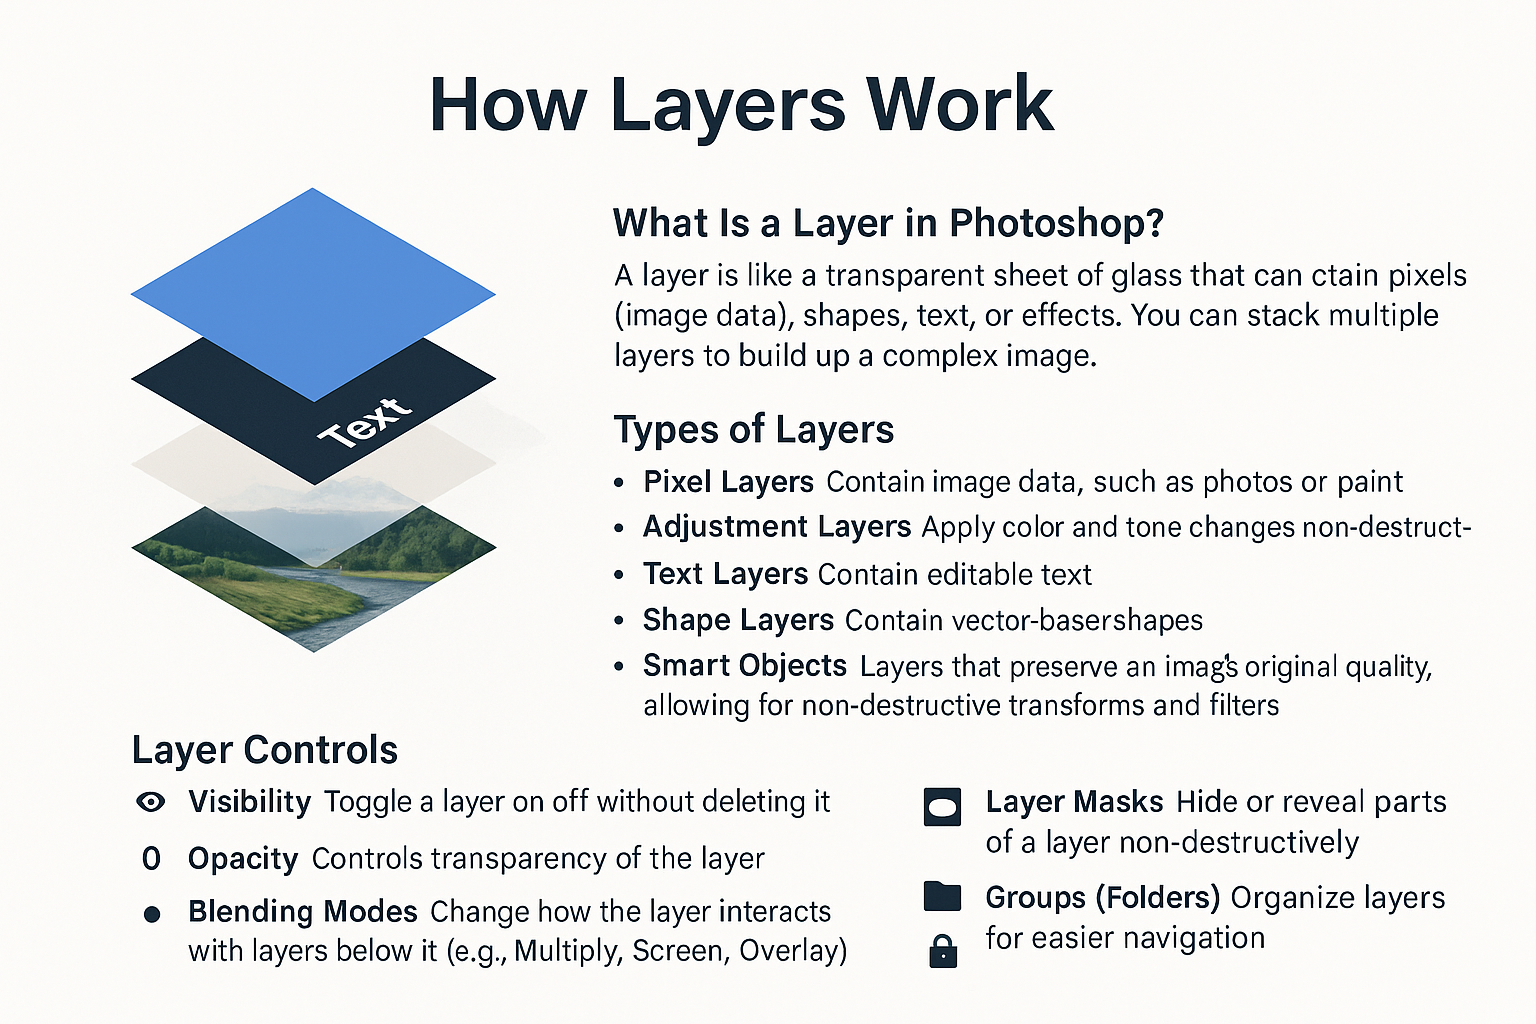
With layers you do not affect the original image. They let you make changes that you can later adjust or remove.
Name your layers! - Click on the layer name to make it editable. You will not remember what effect the layer has otherwise.
Levels adjustment layers are a simplified version of curves. They adjust the brightness, contrast, and tonal range of an image using a histogram that represents the shadows, midtones, and highlights. You can move sliders to set the black point, white point, and midtone, effectively redistributing pixel brightness. It’s a quick and intuitive way to improve overall exposure and contrast.
Curves adjustment layers allow you to adjust the brightness and contrast of an image by manipulating a graph that maps input (original tones) to output (adjusted tones). You can add points along the curve to selectively lighten or darken shadows, midtones, or highlights with precision. It offers more control than Levels, making it ideal for fine-tuning contrast, correcting color, and enhancing tonal range.
Both Levels and Curves are often used in Luminosity layer blending mode to avoid affecting colors only brightness.
Filters
Camera RAW Filter allows you to use this interface on images that are not RAW files. JPG’s, TIFF’s etc.
I strongly suggest that you copy your layer and right click on it to convert the layer to a smart object before you do so. This allows you to edit these changes later instead of applying them to your image directly.
Channels
Red, green, & blue channels combine to make up your image.
Other channels (sometimes called Alpha Channels) are selections you have made and saved or masks of layers in your image.
“Alpha” Channels = Selections = Masks
Normally, you make a selection and save it as a channel. When you use a channel it is called a layer mask.
Selections, channels, and masks can be modified by painting or otherwise changing them like an image in Photoshop.
For channels and masks:
White Reveals
Black Conceals
Greys allow partial concealment depending on how light or dark the grey is.
In Camera RAW
Selections and Masks are the same and they are called Masks. You are only working with a single layer and multiple selections/masks can be applied to that layer.